
It’s no surprise that I use screenshots a lot of the time, being as the majority of my posts are tutorials, and one of my favourite tools is the Snipping Tool. If you’ve not heard of this, or want to know how to use it click here for my earlier tutorial 🙂
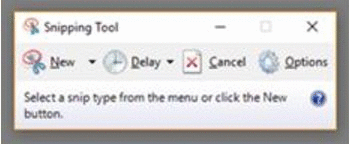
If you’ve upgraded to Windows 10 you might have noticed the Snipping Tool has added a great new time-delay feature…
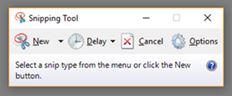
By clicking on the Delay button you can now grab screenshots of drop down menus or pop-ups, which it couldn’t do previously. For example, whenever I wanted to take a screenshot of a drop down menu in Excel I would press PrintScreen on my keyboard then paste it to a PowerPoint slide, crop it and then click on Snipping Tool to take the screenshot.
The Delay button has made this process so much quicker & easier 🙂
Click Delay and choose your delay time in seconds (between 0 and 5). Then click New and the screen will fade out once the number of seconds you’ve chosen has passed – this gives you time to click on that drop down menu or open up that pop-up that you want to capture.
Thank you Snipping Tool for making our screenshot taking tasks a little bit easier 🙂