After I’d had my website and logo redesigned, I then thought about stationery. Obviously I’d had business cards printed to incorporate the new design but what about headed paper, compliment slips etc. All I really needed for my headed paper was my logo and company registration / contact details on the page, so I thought I’d try and save money & just do my own stationery in Word 🙂
This step by step guide will show you how to create your own headed paper.
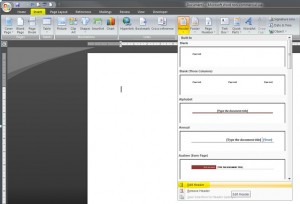
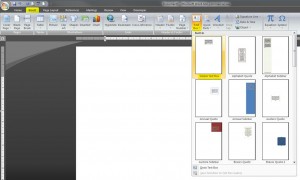
So, firstly open up a blank Word document and go to Insert on the ribbon.
In the Header & Footer section, click on Header. Headers are generally used for documents such as tenders, books, proposals etc where you could have the title, page number, author at the top of every page. In this case, I chose to use it to design my own headed paper. If you have your logo saved as an image on your computer, you can choose to insert that into the header. All you need to do is select Edit Header and it will bring up a blank header section.
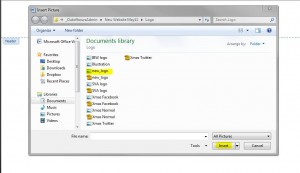
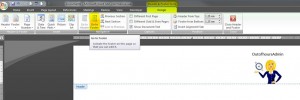
You’ll then notice that you’re in a new tab called Design under Header & Footer Tools, this is where you can make as many changes as you like to your header. Click on Picture, and browse through your folders to where your image is saved, then click Insert.
Your picture will now appear in the header section, there will be another section appear at the top of the ribbon called Picture Tools, this is where you can format the picture (e.g. add a frame to it, rotate it, change the size, colour etc).
The picture will automatically be positioned in the top left corner, if you want to move this, just click on Home in the ribbon and choose the alignment you prefer. For example, I prefer my logo to be in the top right corner, so I choose Align text Right in the Paragraph section of the Home tab. It all depends on your own personal preference though.
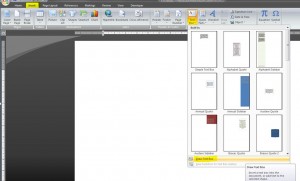
If you want to add text to your header with the picture, click on Insert and select Text Box, again you can choose one of the designs listed, or select Draw Text Box.
You can then type in your text and position the text box anywhere you like on the page / header. When you have finished, click on Close Header and Footer and the image/text will fade out slightly.
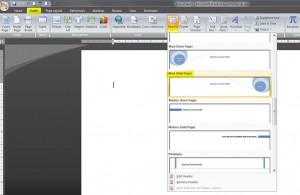
If you don’t have a branded logo yet for your business, you can always use one of the designs shown in the Header section, all you will need to do is type in your own text. Click on Insert, Header and choose a design that you like….
Or you can just insert a text box and input all the information you need, this can then be placed anywhere on the page, so you’re not just restricted to the header.
Once the text box is inserted, you’ll see another option on the ribbon called Text Box Tools with Format underneath, this is where you can format your text box, change shape, colour, effects etc.
You can also change the position of the header in relation to the actual page, either by changing the measurements at the top of the page, or by dragging the ruler on the left hand side.
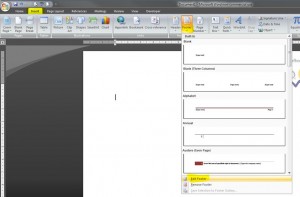
Next, we move onto the Footer. I usually use the footer to show my contact details – again it’s entirely up to you where you position everything, you may prefer your contact details to be in your header. If you’re already in the header section, you can just click on Go to Footer and it will automatically take you there.
If not, then go to Insert on the ribbon and click on Footer and Edit Footer.
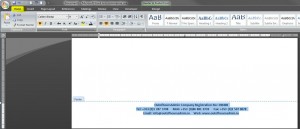
Type in all the details you want to include. Remember, you can format the text by highlighting it, clicking on Home in the ribbon and selecting the necessary formatting e.g. bold, italic, font size, alignment etc.
Once you’re happy with the details, just click Close Header and Footer, and that’s it. Now obviously there is so much more you can do with these options, so have a play around with them until you find something you really like 🙂
Don’t forget, once you’ve printed out your correspondence on your new headed paper, you might want to print out the envelope too – my last post shows you how 🙂


