I recently asked people on my Facebook page if they wanted to know how to do anything on MS Office. Well, the guys at A1 Computers suggested I should show how to print addresses onto envelopes as businesses should really know how to do this, and they’re right. How many businesses spend time getting their letters, marketing information etc just right, only to put it in an envelope that has the address scrawled across the front looking like a doctor’s handwriting (no offence to doctors, but you know what I mean ;))!
So, this post is to show you how to print the recipients address on the front of the envelope, and also how to print a return address, to make it look a bit more professional. I’m going to show you from scratch how to do one off envelopes. I will show the mail merge method at a later date 🙂
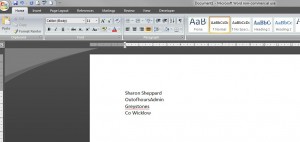
First things first, you need to open up a new document in Microsoft Word. There are two ways of starting, you can either type out the recipient’s address onto the document first…
Or, you can enter the address at the next stage – it’s entirely up to you.
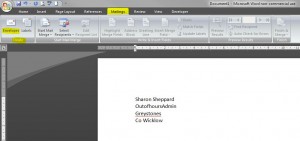
Click on Mailings on the Ribbon, and go to Envelopes in the Create section…
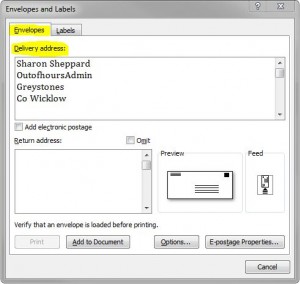
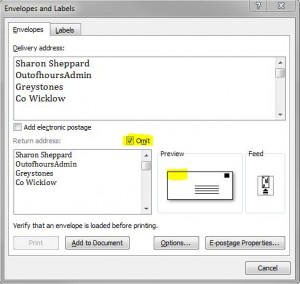
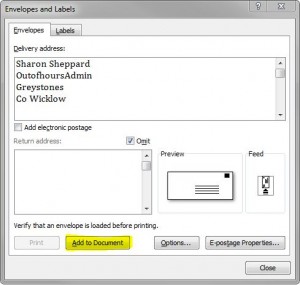
This will bring up the Envelopes and Labels dialogue box. If you already typed out the address at the beginning, you’ll notice that it’s automatically added into the Delivery address section. If you didn’t type the address, you can now type it directly into the Delivery address box…
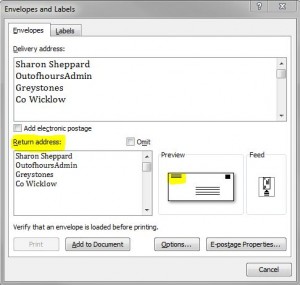
There’s a handy preview showing you exactly what the envelope will look like 🙂 There’s also an option to include a return address. If you want to add this, just type out the address in the Return address section…
If you don’t want to include a return address, just tick the Omit box, and you’ll notice that it disappears from the preview…
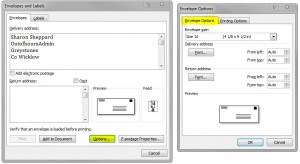
Next, you can change the font and style of the address, if you wish, by clicking on Options. This will bring up another dialogue box which allows you to select the envelope size, the position of the address, and the font. Again, there is a handy preview for you to see the changes made…
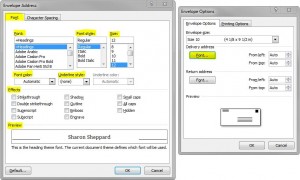
Clicking on Font for the delivery address and the return address (if applicable) allows you to change the colour, style, size and even the effect of the wording. A preview is, once again, shown so you can see what it will look like. Once done, click Okay and it will go back to the Envelope Options dialogue box…
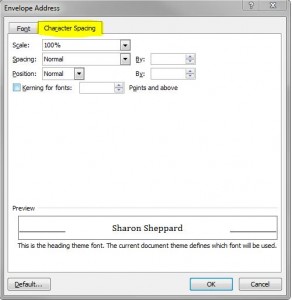
Another option is the Character Spacing where you can choose the scale of the wording, how condensed you want the lettering to be, whether you want the wording raised/lowered etc…
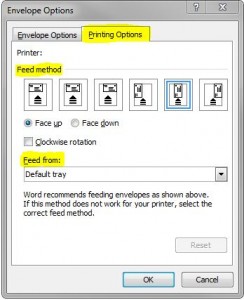
To be honest, I tend to just leave it as it is, in the style that Word has automatically selected (but then I’m lazy!). The next option to look at is the Printing Options. This will depend entirely on your printer set up as to whether you insert envelopes face up, face down, which tray to use etc…
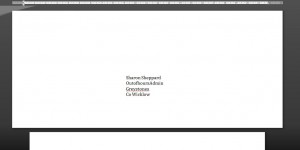
Once you’ve chosen the right method for your printer, and you’re happy with the envelope options, click Okay. If you want to see the actual envelope on screen, click on Add to Document…
…And the envelope appears on the screen
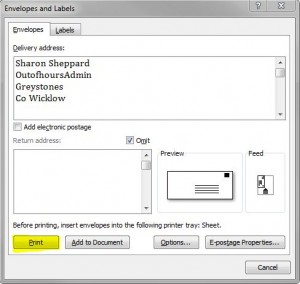
If you don’t want to see the envelope on full screen, then you don’t have to add to the document, you can just press Print as long as an envelope is loaded into the printer 😉
And that’s it, I hope you find it useful. A1 Computers also suggested showing how to create letterheads, so I’ll be posting that guide next time 🙂

